Our Barrels “Burton Through Time” and “Moonlight” are out on the trail in Burton Upon Trent this summer. We painted these gorgeous barrel sculptures for Making Trails. The trail features 14 barrels dotted around Burton, each one uniquely designed by a different artist. To find out more about the trail and where you can pick up a trail map visit Burton Barrel Roll.
Our designs feature some iconic Burton locations as well as local fauna and flora. Here is a little insight to our process of painting our two barrels:

Burton Through Time Barrel
Our process:
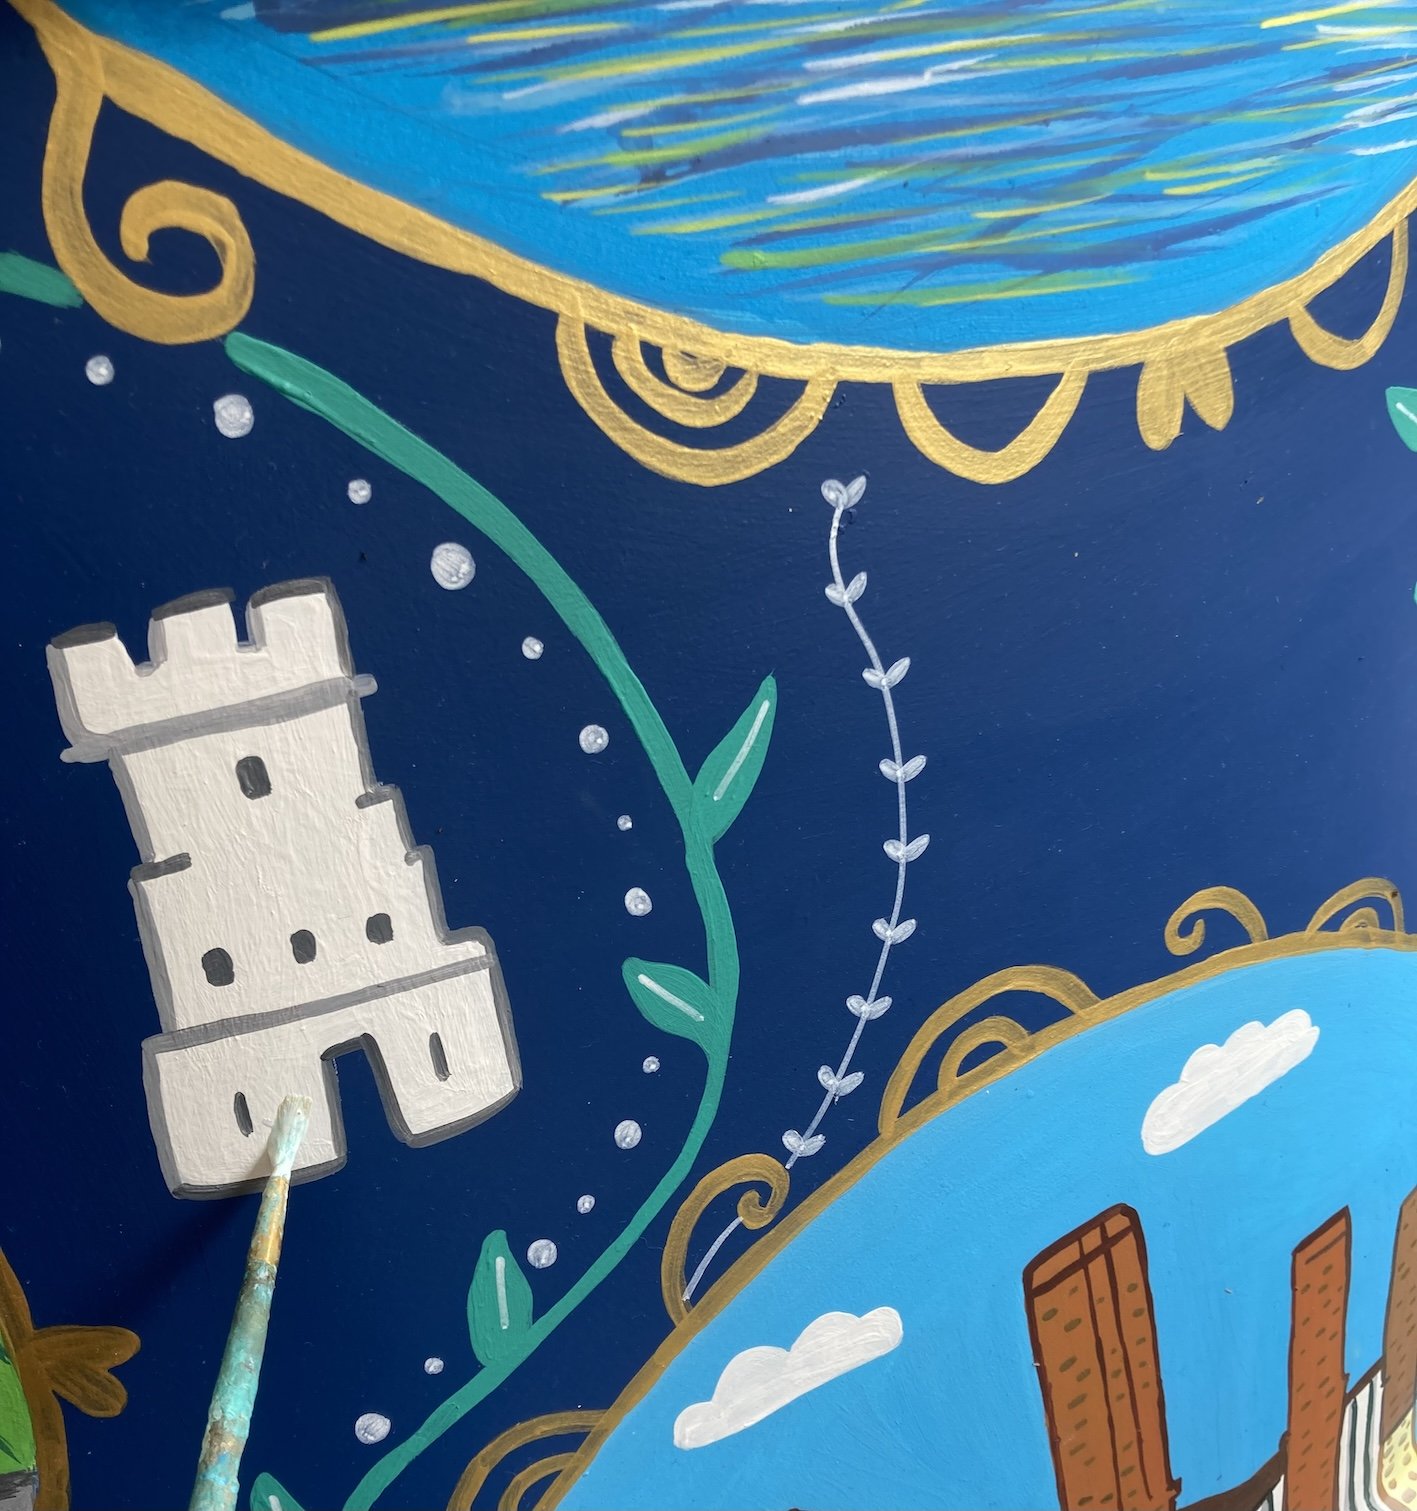
1 It all starts with a design- first we researched into the themes of our designs, in this instance for ‘Burton Through Time’ we looked at how Burton On Trent has evolved and some of the best loved places and things that really stood out, like Burtons Brewing past and historic buildings. We decided for this design we used a colour scheme of blues, turquoise and golds to really reflect the time and period of our design. For ‘Moonlight’ we wanted to celebrate the local wildlife, so we got stuck into designing an array of animal characters including swans, hedgehogs and water voles, we decided to evoke a sense of peace by using soothing moonlight colours of pinks, dark blues and purples. The silhouettes of Burton landmarks and the glowing starlight plants and foliage really add to the effect of calm and tranqulity.
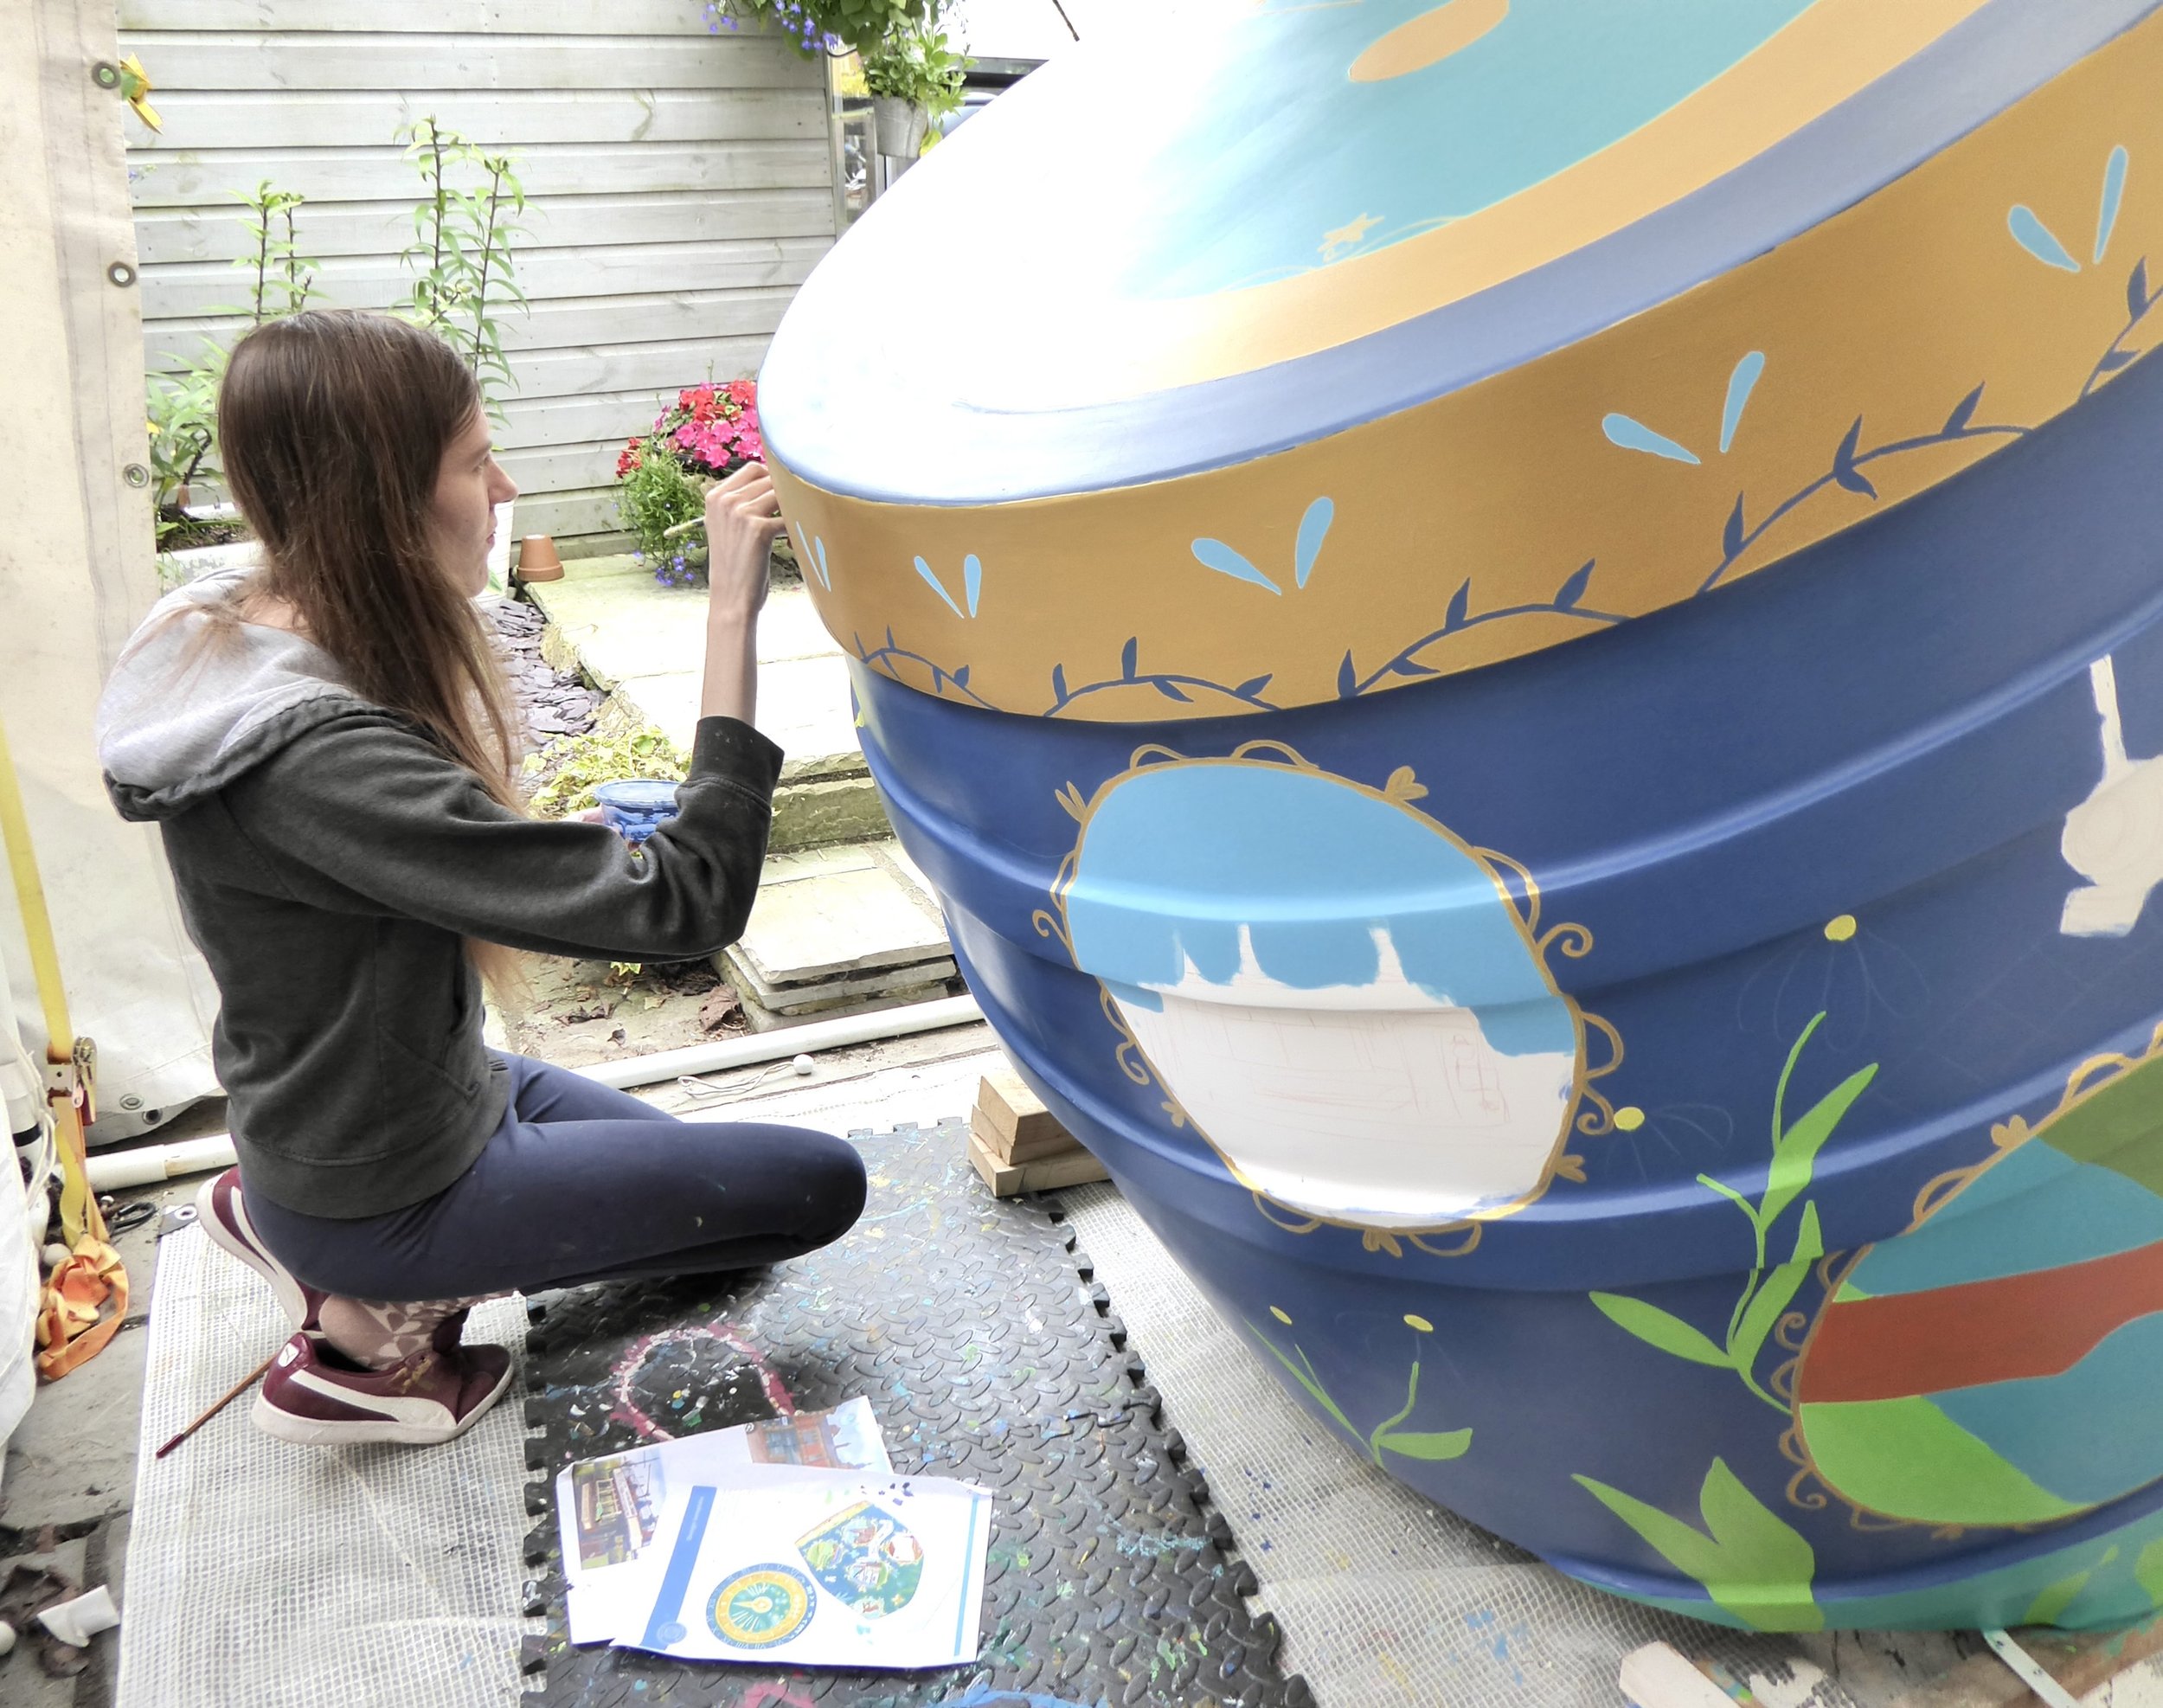
2: Translating 2D to 3D- Its all about scaling up the design, so we decided to work with the most prominent shapes first- in this instance for ‘Burton Through Time’ we started with circle shapes. We divided the design into sections and used a circle template to draw out our design- 3 circles per side. Working on a 3D rounded sculpture can be a challenge, so it’s important to step back and see your work from a distance too. Drawing out your design in a watercolour pencil is good as it can be early wiped out if needed and won’t show up under your paint.
3: Working in layers: We start with the base colours first, making sure we apply 3-4 coats to get a good strong colour. We then build up the design layer by layer, drawing out the simple shapes with a watercolour pencil and then filling them in with acrylic paint. Dividing your design into quadrants is a good idea, approaching the sculpture from each side so you really get a feel on how your design flows around it. Once we have all the base shapes on its time to add the details- our most favourite part.

4: Details- Using small brushes and Posca pens we build up the details bit by bit, its good to keep in mind the shape of the sculpture, so if your drawing a certain object or character , step back and look at it so you can see how your character works on a curve- is it sitting well? Do you need to make allowances for the curve? Most of all it’s important to let your style shine though, have a play beforehand. Try different mark making or line work that you can achieve with the pens or brushes. For “Moonlight” we used a splatter technique to build up the stars before going in with the detailed constellations.
We will be sharing more of our top tips for sculpture painting soon, so stay tuned.